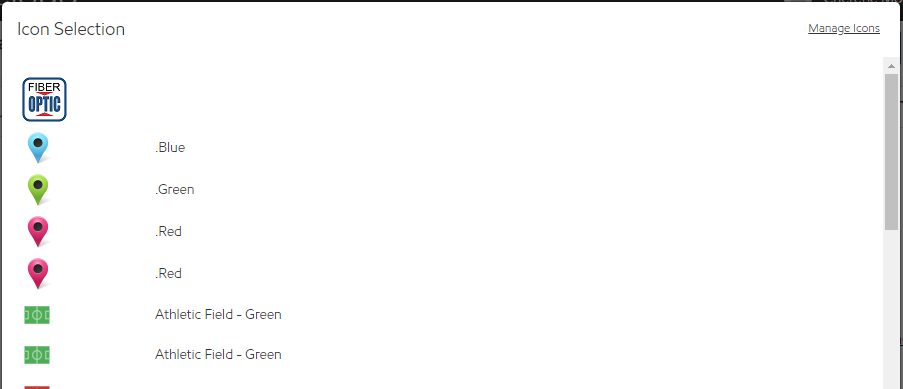
Asset Icons
Asset Icons allow for easy identification of specific assets on the Map. Different icons can identify work due versus work open. Icons can be imported from the HSC Cloud Community or created manually.
Obtaining Icons from the HSC Cloud Community
Access the Asset Icons Tile from the Dashboard or the left navigation menu.
Select Browse to access the HSC Cloud Community.

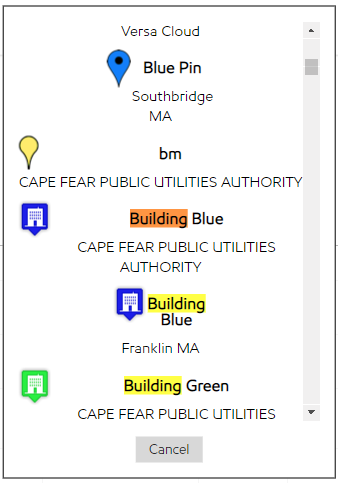
The list of icons shared by the HSC Cloud Community is displayed.
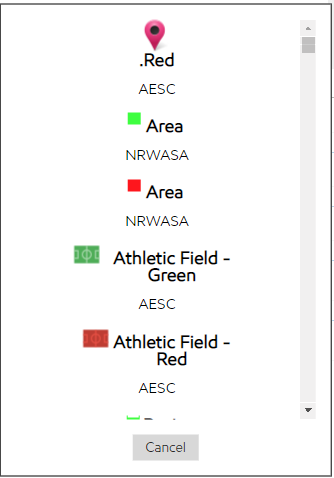
To search this list, click CTRL-F. This will provide a pop-up window with a text box. Type your search criteria in the text box and click Enter.
In this example, I searched for 'building'. 7 icons with the text 'building' have been highlighted in the list.
Use the up and down arrows in the search window to quickly find each of the results found or use the scroll in the list to find all of the highlighted results.

Select the icon you wish to add to your Asset Icon list.
Create an icon
There are many websites that offer free icons.
Locate the icon you wish to add to HSC Cloud and save it locally.
Select Create.
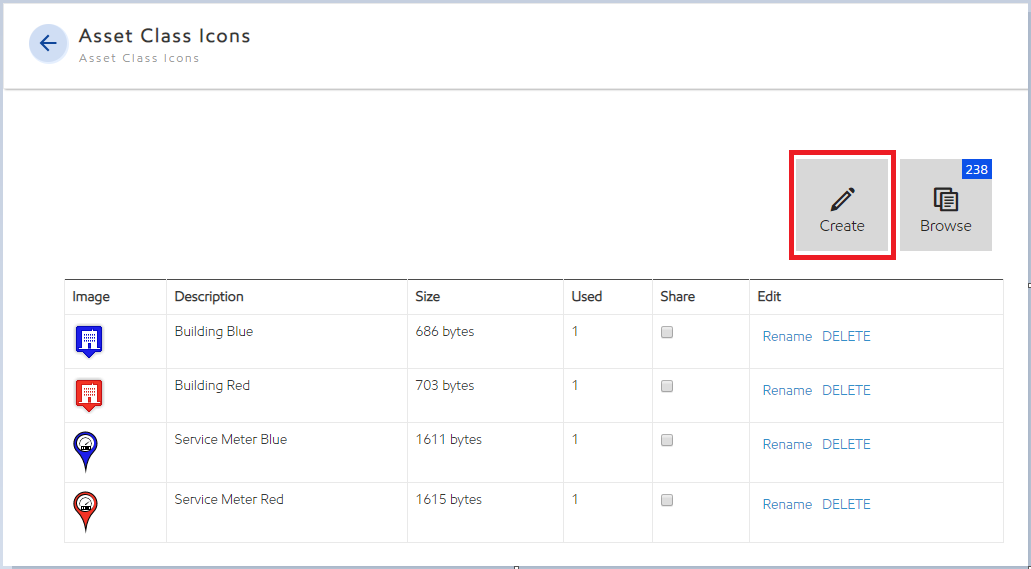
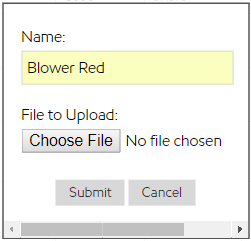
Enter a descriptive name for the icon.
Select Choose File to browse for the file.
Select Submit to upload the file to HSC Cloud.
Create a custom icon
Perform a Google Search for an image.
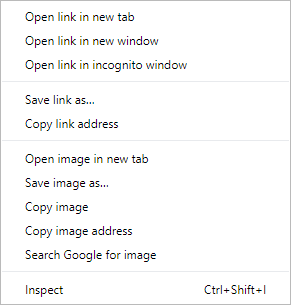
Right click on the image and select Save image as...
Save the file locally
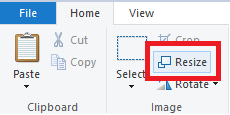
Open Microsoft Paint
Click Resize
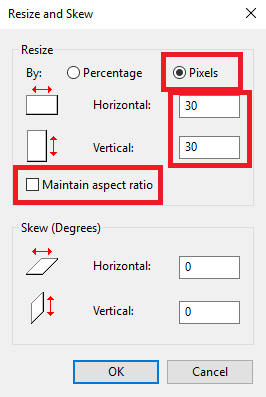
Resize By: Pixels.
Horizontal: 30
Vertical: 30
Uncheck the Maintain aspect ratio checkbox.
Follow steps above to Create an Icon to add to the Asset Icon Library.
Apply the icon to an Asset Class
Access the Asset Class to which the icon will be applied.
Select Settings.
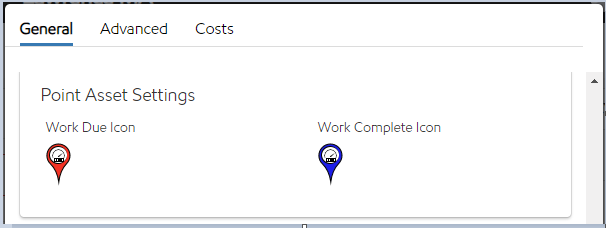
Under 'General' settings, navigate to the 'Point Asset Settings' section of the page.
Select the existing icon.
A list of all the icons in the Asset Icons Library is displayed.
Select the icon to be applied.